User Guide
Creating and Assigning Documents
Creating and assigning documents is an easy process to get files into their appropriate loans quickly.
-
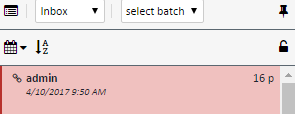
Click on the file you want to assign
-
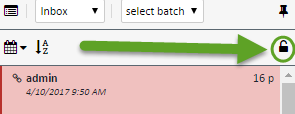
Click the lock icon on the lower left of the File List toolbar. When the file is locked, the icon will appear locked as well.
-
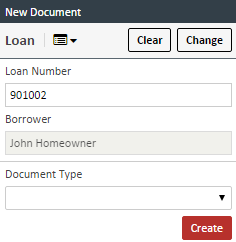
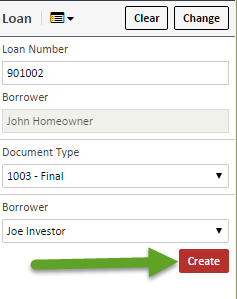
On the Loan section to the right of the screen, choose the loan this file will be assigned to.
-
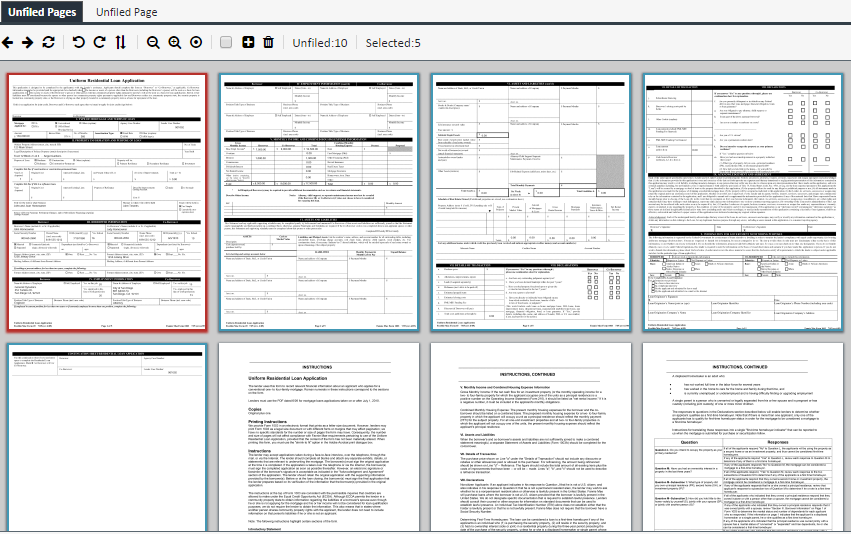
On the page viewer, highlight the pages you want to assign to a document. You can use the standard Ctrl+click and Shift+click to highlight multiple pages
-
On the Loan section on the right hand side, click on the Document Type dropdown, choose the correct document type and any additional fields, and then click CREATE.
-
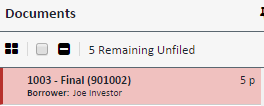
The created document will appear on the Documents section
-
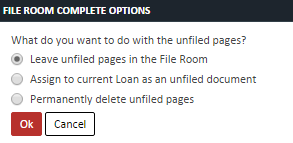
Continue this process until all pages are filed. Once all pages are filed, click COMPLETE at the upper right of the screen

-
If you do not file all pages and click COMPLETE, you will be presented a list of three options for what to do with the unfiled pages. Choose the appropriate option and click OK